Your Complete Guide to Non-Toxic Spring Cleaning by Jessica Green

It’s that time of the year! Spring is here and it’s more important now than ever that we make our homes the sanctuary that they really are.
What that means to me is reducing indoor air pollutants to support our physical health and decluttering to improve our mental health and reduce cleaning time. You can read a bit more about the psychological impact our space has on us in my blog post Holistic Detox and hear more about this in my podcast with Rose Lounsbury Minimalism Coach here.
As you might know by now, I am not a fan of toxic chemicals which certainly goes towards cleaners. I’ll be sharing more about toxins in common household cleaners in an upcoming post but in the meantime, I’d like to focus on super easy and non-toxic options.
Non-Toxic Cleaning Toolkit
- Natural sponge
- Microfiber cloths
- Toilet bowl brush
- Vacuum Cleaner
- Mop appropriate for your floor type
- Baking soda
- Distilled vinegar
- Essential oils if you like (WILLOWTREE has many to choose from)
- Castille soap – like Dr. Bronners which you can find at WILLOWTREE
- Toilet bowl cleaner – I use Ecover brand
- 2 Spray Bottles – one for vinegar and water, the other for diluted castile soap
I’ve broken this into days because tackling spring cleaning all in one day can seem a bit overwhelming.
Day One – Decluttering
Clutter makes it hard to clean. Let’s face it, if you have a clear surface it can take 30 seconds to wipe it down. If you have a hundred knick-knacks or stacks of paper and miscellaneous stuff you’re not sure where to put, the same surface can take over an hour to clean! You want this to be easy to maintain, right?
What you want to aim for first is clearing off all the flat surfaces such as tables and countertops. Next look for anything on the floor that doesn’t appear to have a home ie. sprawling sea of shoes near the door, backpacks, clothes, toys. This will be your big decluttering focus.
Some things will be obvious in that they are literally either recycling or trash that just hasn’t made its way to the bins. Take care of that first. See what’s left and put them into their proper home. If it’s unruly paper piles, time to go through them! Shoes that are out of season? Store them out of site.
If it seems there’s not enough room to put everything away in their designated home, it may be time to do some decluttering in those rooms. I like to take a couple boxes or bags, one for things to donate and one for things that have holes or stains (it may be the trash or could be recycling – see below for additional resources). If you’re short on time, focus on the “worst” areas. You know what I’m talking about – the closet whose door doesn’t close and you can get into. Maybe it’s the pantry or a kitchen countertop filled with small appliances you can’t put away because your cabinets are filled with appliances you never use.
Because right now, you may not be able to drop anything off at a donation place, box up or bag items and stow these away in your garage, car or storage closet. Anywhere out of site will do until donation centers open back up.
At the end of the day, look around to put away anything that was taken out to be used that day.
Day 2 – Dusting Day
Dust is like a magnet for outdoor pollutants that are brought in through the windows, on your clothes or the bottom of your shoes. These can include heavy metals, particulate matter, petrochemicals, pesticides, herbicides and feces. To read a bit more on this, take a look at my article on air quality here.
This is the day to do some serious dusting. This is a top to bottom job. I like to start by taking my broom and draping a towel over it and using this to brush all the cobwebs from the ceiling, corners and walls. If you’re in your bathroom, you might see the fan grate is looking pretty full of lint. If so, vacuum the vent.
When you dust, be sure to check behind any drapes or blinds especially at the top. See any spiders hiding out? Maybe more cobwebs? Take the broom to these too.
Next, go down one layer to shelves. Here, you’ll need to move all the knick knacks and books to dust anyway so take them down and place them on a table or counter. For shelves, a damp microfiber or old T-shirt will work just fine for removing dust. Be sure that the cloth isn’t too wet and that they dry completely. Unless your shelves are antique, they probably don’t need any oiling or waxing.
Next use a damp cloth or weather duster (if they’re very intricate) to dust your knicknacks. For books I just use a feather duster.
Replace the knick-knacks and books once the shelves are dry. When organizing them again, I like to sort books by general theme and height. Sometimes I stack them horizontally if they’re very large and that way they also make a book end for smaller books. For knick-knacks, I like to create little vignettes with like objects or group by color leaving empty space between the scenes.
Do this for all the shelves in your rooms starting from top to bottom.
As you go through each room, also wipe down the window sills while you’re at it.
Next tackle any lamps you have. Using a damp cloth for solid lampshades and a vacuum with a brush attachment for the cotton shades.
Since your tables and counters should also be clutter free at this point do a wipe down of these as well. Be sure to wipe the table legs.
Lastly, let’s do a once over for any other hard furniture you have that you didn’t tackle already. Check nightstand tops, shelves and legs, wooden or solid chairs, any other occasional tables and cabinets.
At the end of the day, be sure to pick up and put away anything that was taken out for the day’s use.
Day 3 – Vacuum Everything
When was the last time you vacuumed your couch or fabric headboard? This is the day we’ll tacke it. Now you might want to do this at the end of Day 2 if your home was particularly dusty.
Check your vacuum cleaner to make sure the bag isn’t full. My vacuum also has a HEPA filter and I change that at the start of a new box of bags. Set it up with the fabric attachment and same as the dusting, begin at the top of anything you’re vacuuming. If you need to move furniture away from the wall to get all sides, do that as well and don’t move them back right away.
Once you taken care of the fabric surfaces, put down the vacuum and grab your broom, you’ll be sweeping the baseboards next. I use a broom instead of a cloth because I find the cloth tends to leave behind pieces of it and some of the dust as well. This may just be because my baseboards aren’t completely smooth. But also using the broom means I’m not on my hands and knees for this part and it goes much faster!
Once you’re done sweeping the baseboards, vacuum the floors. My vacuum can be used on hardwood as well as carpet so I use it for both. If your vacuum can’t be used on a hard floor, then consider using a microfiber sweeper as that will catch more particulares than a broom will.
If you have area rugs that are small enough to take outside and beat, then do this before you vacuum them.
Go through each room doing these steps.
At the end of the day, be sure to pick up and put away anything that was taken out for the day’s use. – You’re getting it now.
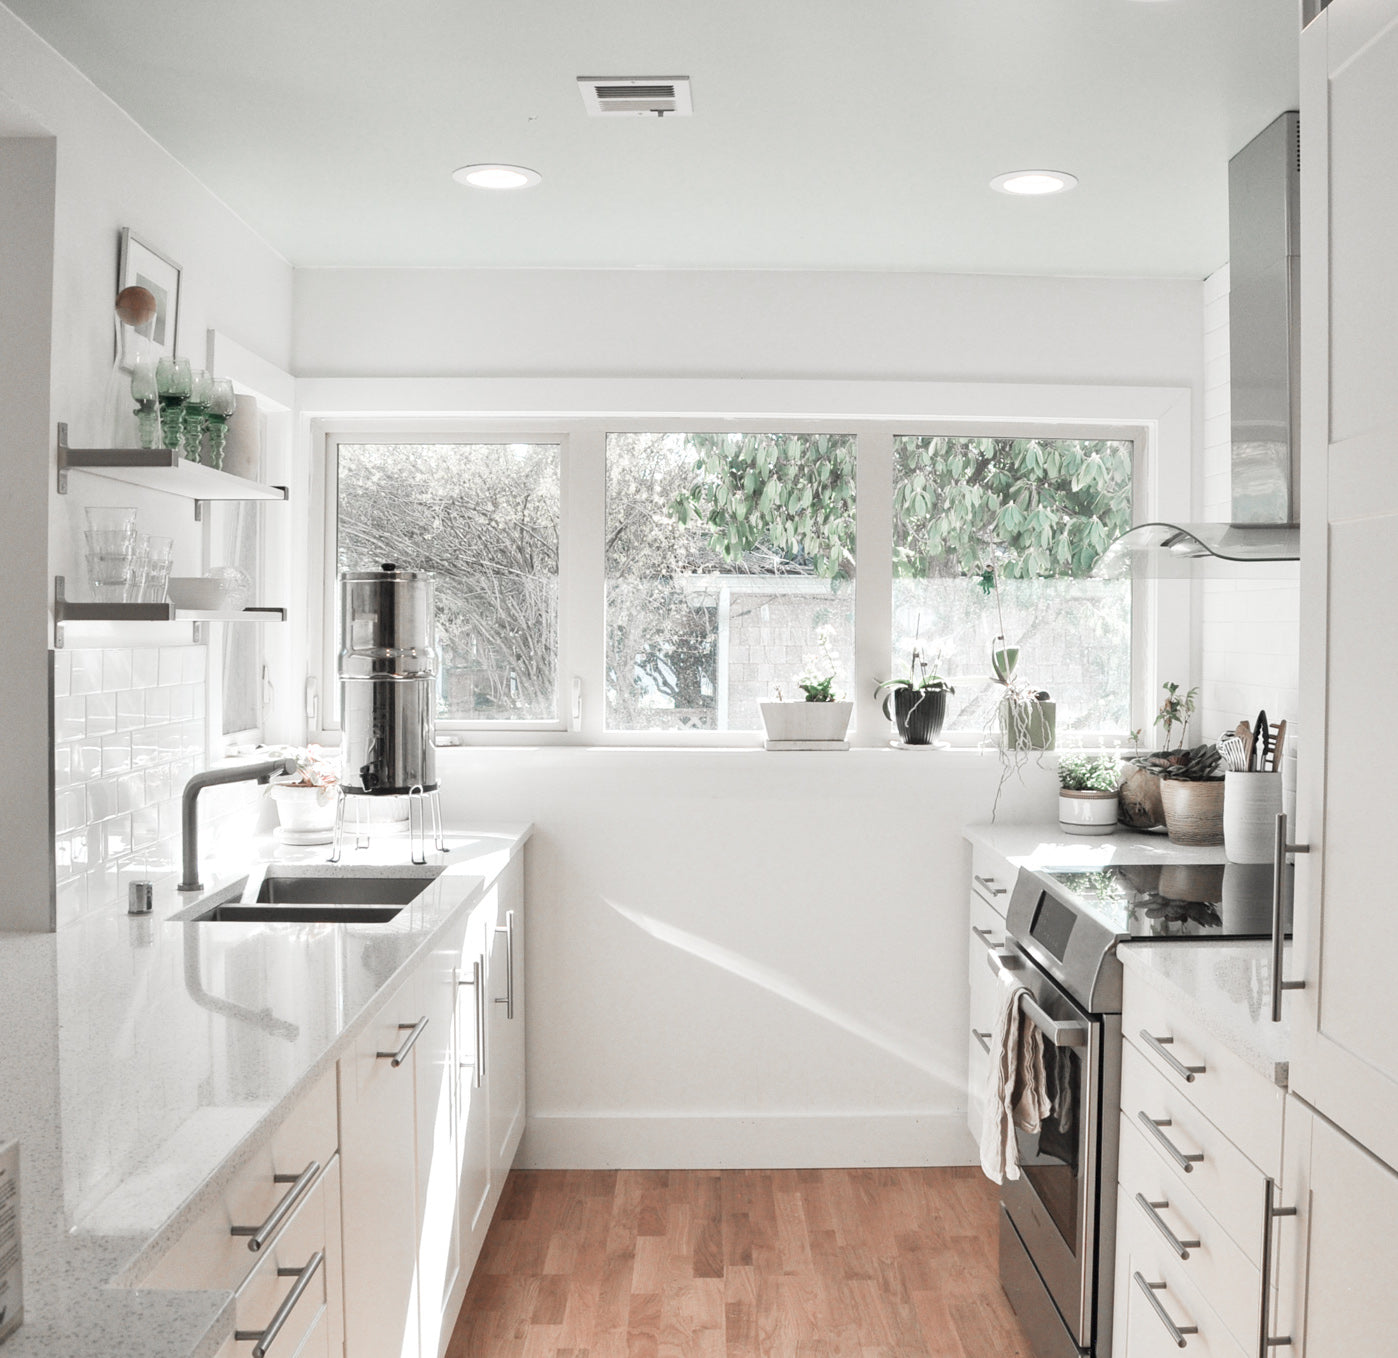
Day 4 – Kitchen
Your kitchen should be looking pretty good right now what with the clear countertops, dusting and vacuuming but we’ll take it a step further.
For the kitchen (as well as the bathroom) you’ll want two spray bottles. Once for glass surfaces and one for everything else.
For the glass cleaner you’ll use 1 ½ cups water, 1 ½ tablespoon of white vinegar and 1 ½ tablespoon of rubbing alcohol. You can add essential oil to this as well.
For the general purpose cleaner, mix 1 ½ cups of water to 1 teaspoon of castile soap. You can add essential oil to this as well if you like.
Starting with your stove, oven and range hood area, if your oven has a self clean option on it, go ahead and set that in motion as it takes hours to go through. Remember it’ll be locked during this time so plan around not using your oven for that time.
Check your range hood. If the grill on this looks greasy, remove it and set it in the sink. You’ll need to wash this with hot water and dish soap and set it to dry while you tackle the rest of this area. Wipe down any of the glass or shiny surfaces. Do not use this spray on marble or granite and the pH will be too high.
Do the same for your other appliances with slick surfaces being sure to take extra time on the handles.
With the all purpose cleaner, spray and wipe down the backsplashes, countertops and cabinet faces. Again, take extra time to wipe down the handles.
When the oven self clean cycle is done, remove the racks and take a wet microfiber cloth or a sponge and wipe the entire inside.
If your kitchen sink is large enough you can wash the oven racks there with dish soap and a brush. If not, use your sponge and a bit of baking soda to scrub off any pieces that got stuck. Put it back in the oven.
Finally, for the sink, I like to use a slight abrasive like baking soda. Just sprinkle this into the sink, using your kitchen cleaning sponge (this is NOT the same you use for your bathrooms please!) and a bit of water, scrub the buildup around your sink taking special care around the edges where mildew can build up. Be sure to take out and clean any sink drain filters you may be using. Rinse and then using the glass cleaner and a microfiber cloth, you can to a quick wipe down of the sink and faucet.
Finally, let’s do a quick fridge clean out. This will be quick work since you don’t want any foods to perish! Start by emptying out your entire fridge. Wipe absolutely everything down with a wet microfiber cloth to remove food particles and old sticky spilled goo. Wipe it next with a clean dry towel.
Go through the foods you removed. If anything is expired, mouldy or you just haven’t used it in a year then toss them. Wipe around any jars or bottles that have gotten goopy and place everything back in.
For the freezer, do the same thing, removing everything to do a quick wipe down. If there’s any freezer foods that are expired or have frostbite, toss these and place everything else back.
At the end of the day, be sure to pick up and put away anything that was taken out for the day’s use. Yep, I know, I’m repeating myself. It’s all about reset for the next day, trust me, you’ll appreciate this tomorrow.
Day 5 – Bathroom
Start by putting away anything left out to clear off the countertop. If you missed vacuuming the bathroom vent, dusting lighting fixtures, sweeping baseboards and vacuuming, go ahead and do these to catch up.
Next you’ll be washing the bathroom floors using your favorite mop for this job. If your bathroom is small like mine and the mop doesn’t reach all the spots then using a bathroom sponge or microfiber cloth and all purpose spray bottle, get down on your hands and knees and do a quick wipe down of the floor.
Next, tackle your toilet with toilet bowl cleaner (like Ecover) and brush and wipe the top, sides and seat with your all purpose cleaner and bathroom sponge.
For your bathroom sink, you can use your all purpose cleaner or if you have tougher stains you can use a light sprinkle of baking soda.
For my shower, I like to use a wooden natural bristle brush and some baking soda to scrub off any soap scum and then rinse. When I do deep cleaning I also make sure to wipe the top ledges that may have collected dust. For the shower heads and faucet handles I love to use a microfiber cloth designed for shining just with a bit of water. It helps to remove water stains.
If you have glass in your shower or bathtub area use a glass cleaner to give it a once over.
Next I’d like to invite you to empty out your towels and check on condition. If any of them are looking particularly shabby or discolored and you have plenty for each family member, put those in the donation pile for your local animal shelter.
Finally, pick just one drawer to declutter. This is a great opportunity to go through and toss anything that’s expired or you haven’t used in the past year. Wipe down the drawer and place everything you’re keeping back in the drawer.
At the end of the day, be sure to pick up and put away anything that was taken out for the day’s use. Ok, you probably didn’t need the reminder again….
Day 6 – Window, Doors and Mirrors
When was the last time you washed your windows, exterior doors and mirrors? It’s amazing how much dirt and grime can collect on these surfaces!
I love using a microfiber cloth and the glass cleaner for the windows, mirrors and door windows. If you need it, grab a chair or step stool and head to your first room.
Start by taking off any window screens. These might be pretty gross so if you have an outdoors and a hose you might just blast these with water. If you don’t, then take a cloth and a small bucket of water with some dish soap and wipe these down. Dry them with a clean towel.
Next, wash windows and mirrors in each room. If you have pictures with glass, you can wipe these down as well. Replace the screens. Keep moving through each room and include the windows in exterior doors as well.
If you have easy access to your exterior windows, wash these as well. You may start with a squeegee and soapy water then finish with the glass cleaner and cloth.
For your exterior doors, take a bucket of warm water with a bit of castile soap and a cloth and wash the interior and exterior of the doors. Be sure to wash the handles thoroughly as well.
At the end of the day, be sure to pick up and put away anything that was taken out for the day’s use. (Come on Jessica! I got it the first 5 times!)
Day 7 – Mop Up
By now your house looks clean and clutter free! One last step though and that is to mop the remaining floors. Remember all the things that can come in from the outside, especially on your shoes? If you’ve been wearing shoes in your house (which is something I’d recommend not doing), then your floors will need this more than ever.
I have wood floors that don’t do well with lots of water so for these, I take my all purpose cleaner, spray the floors and then wipe with my microfiber cloth mop which can also double as a sweeper. The microfiber on my mop can be removed and thrown in the wash afterwards.
If you have tile floors, you can use a mop and a bucket of soapy water – again using a small amount of castile soap. This is a good time to check the grout. If there’s a lot of built up there, scrubbing these with a brush and some baking soda and water will work well. Be sure to wipe off any residue with water afterwards. If you do this, you might consider using a non-toxic grout sealer like AMF Safecoat after the grout has dried. This will help keep dirt and grime from getting stuck in the grout again, making it easier to clean next time.
No reminder today, I’m sure you got it by now.
Finali!
Congratulations! You’ve just finished your spring cleaning! Time to take a big breath of dust free, chemical free air and enjoy your sanctuary.
Want to go a bit deeper into decluttering? Check out some of these fabulous resources to help motivate you.
Project 333 – This is a book and a challenge by Courtney Carver at Be More with Less. Keep an eye out for my upcoming guest post at Autoimmune Sisters on my wardrobe decluttering project inspired by this book!
Rose Lounsbury is about to kick off her 6 Week LESS method decluttering challenge! You can find out more at her website as well as additional resources and her book LESS.
Want a bit more virtual hands-on approach to helping you sort through your clutter? My friend Chantale of Simplicity Source is now offering virtual services.
Want to dive a bit deeper into the world of minimalism? The Minimalists have lots of resources, minimalism games as well as a podcast to inspire you.
When COVID- 19 restrictions are lifted…
Recycle Clothing
Trash Is for Tossers has a great post with several options on how to recycle your old holy and stained clothes
Donate
Be sure to check your local non-profits for donation needs and restrictions on donations. Not every donation place will accept everything!
Jessica is an Integrative Health Practitioner and Health Coach specializing in thyroid health, gut health and hair loss. She offers functional medicine lab testing as a part of her coaching program. Learn more at www.jessicagreenwellness.com
Also in Blog


Make Healthful Habits Stick Part 2 By Sophie Knapp, MScN, CN
How many of you have given up on your resolutions yet? Most of you? Well, statistics indicate that would be the case. NO SHAME!
In this second part of making Healthful Habits Stick, I’m going to talk you through some of the “make it stick” strategies you can start using right now to get re-inspired and get back on track toward the changes you desire in your life.